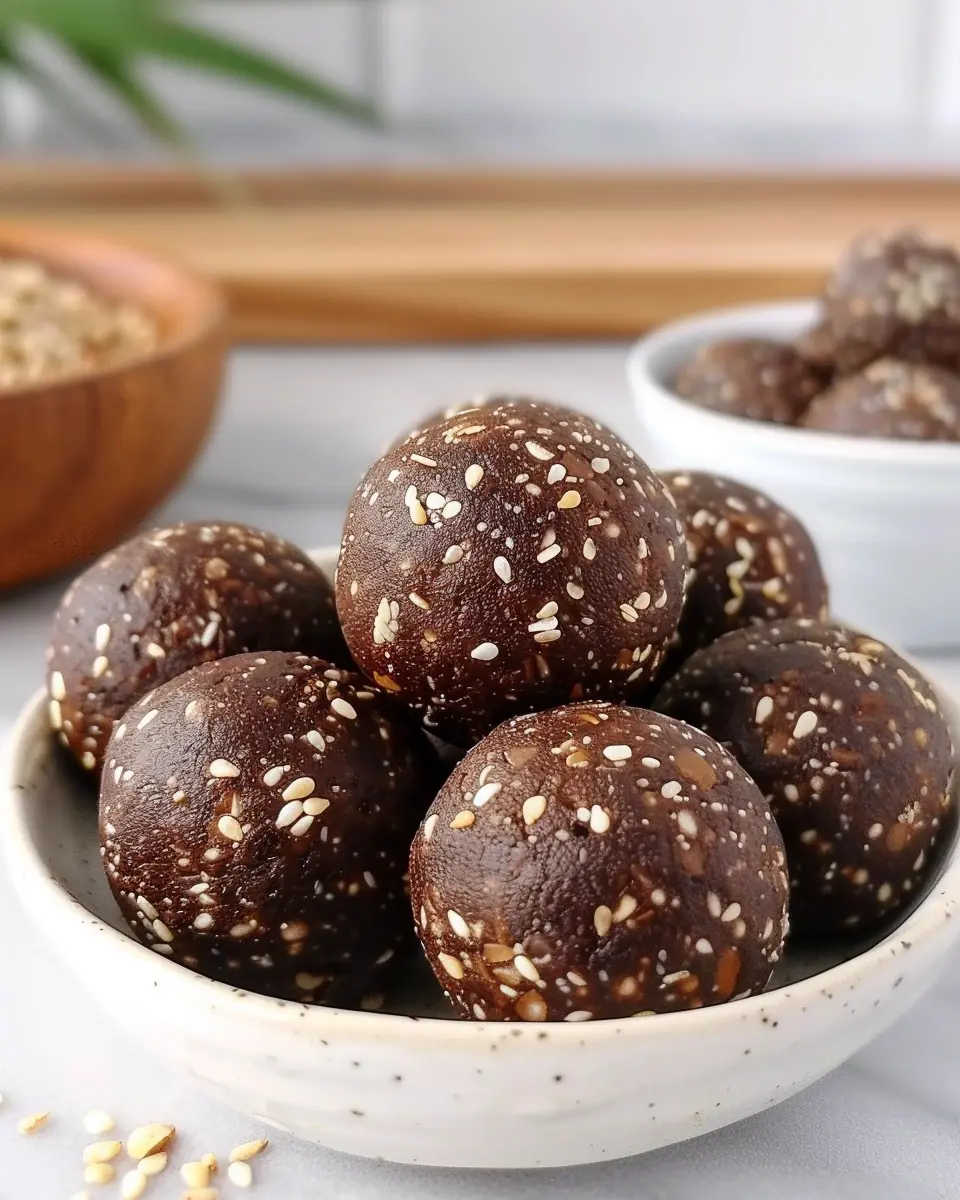
Introduction to Delicious Protein Balls for Diabetics
Finding snacks that fit a diabetic-friendly diet can feel daunting, especially when you’re trying to maintain your energy throughout a busy day. Enter delicious protein balls for diabetics! These tasty little treats pack a powerful punch of nutrients without sending your blood sugar on a rollercoaster ride.
Why choose protein balls for diabetes-friendly snacking?
Protein balls are an excellent option for anyone watching their sugar intake. Made with wholesome ingredients like nuts, seeds, and natural sweeteners, they provide a steady stream of energy that can help keep you satisfied between meals. Plus, they often contain high-quality protein sources, which are vital for muscle maintenance and overall health, especially for busy young professionals.
Research shows that incorporating protein into your snacks can help manage blood sugar levels. According to the American Diabetes Association, protein can slow down the absorption of carbohydrates, leading to a steadier rise in blood sugar. So, swapping out more traditional sugary snacks for protein-packed alternatives means you can indulge without guilt or worry!
The appeal of no-bake recipes for young professionals
We get it—life is hectic. The last thing you want to do after a long day is spend hours in the kitchen. That’s why the appeal of no-bake recipes, like our delicious protein balls for diabetics, is hard to resist. They require minimal prep and no baking time, making them perfect for whipping up quickly on a Sunday evening or even on a busy weekday.
With just a few ingredients and simple steps, you can create protein balls that are not only nutritious but also satisfyingly fun to eat. Imagine having a batch of these handy for when you’re tackling a deadline or ready to hit the gym. Plus, you can easily customize your protein balls to suit your unique taste preferences, allowing for endless flavor combinations.
So, are you ready to power through your day with a nutritious snack that fits perfectly into your lifestyle? Let’s dive into the delightful world of delicious protein balls for diabetics—your taste buds will thank you!
For a deeper look into constructing balanced snacks, check out this article from the Mayo Clinic, featuring guidelines on diabetic-friendly foods, ensuring that you’re always in the know.
Ingredients for Delicious Protein Balls
Essential ingredients you’ll need
Creating Delicious Protein Balls for Diabetics starts with a solid foundation of wholesome ingredients. Here’s what you’ll need:
- Protein powder: Opt for a low-sugar option to keep your blood sugar stable.
- Nut butter: Almond or peanut butter adds creaminess and healthy fats.
- Oats: Rolled oats provide a great source of fiber, aiding in digestion.
- Chia seeds: These tiny powerhouses are packed with omega-3s and add texture.
- Natural sweetener: Consider erythritol or stevia to sweeten without spiking insulin levels.
Optional ingredients for customization
Customization is where you can let your creativity shine! Here are some optional ingredients to enhance your protein balls:
- Dark chocolate chips: Choose a high cocoa content for a treat that won’t spike your sugar.
- Dried fruits: Unsweetened cranberries or apricots add natural sweetness and flavor.
- Spices: Cinnamon or vanilla extract can give a delicious twist without added sugar.
- Protein boosters: Flaxseed or hemp seeds can give an extra nutrient punch.
Feel free to mix and match these ingredients to suit your taste and health goals! For more tips on healthy snacking, check out resources from the American Diabetes Association.
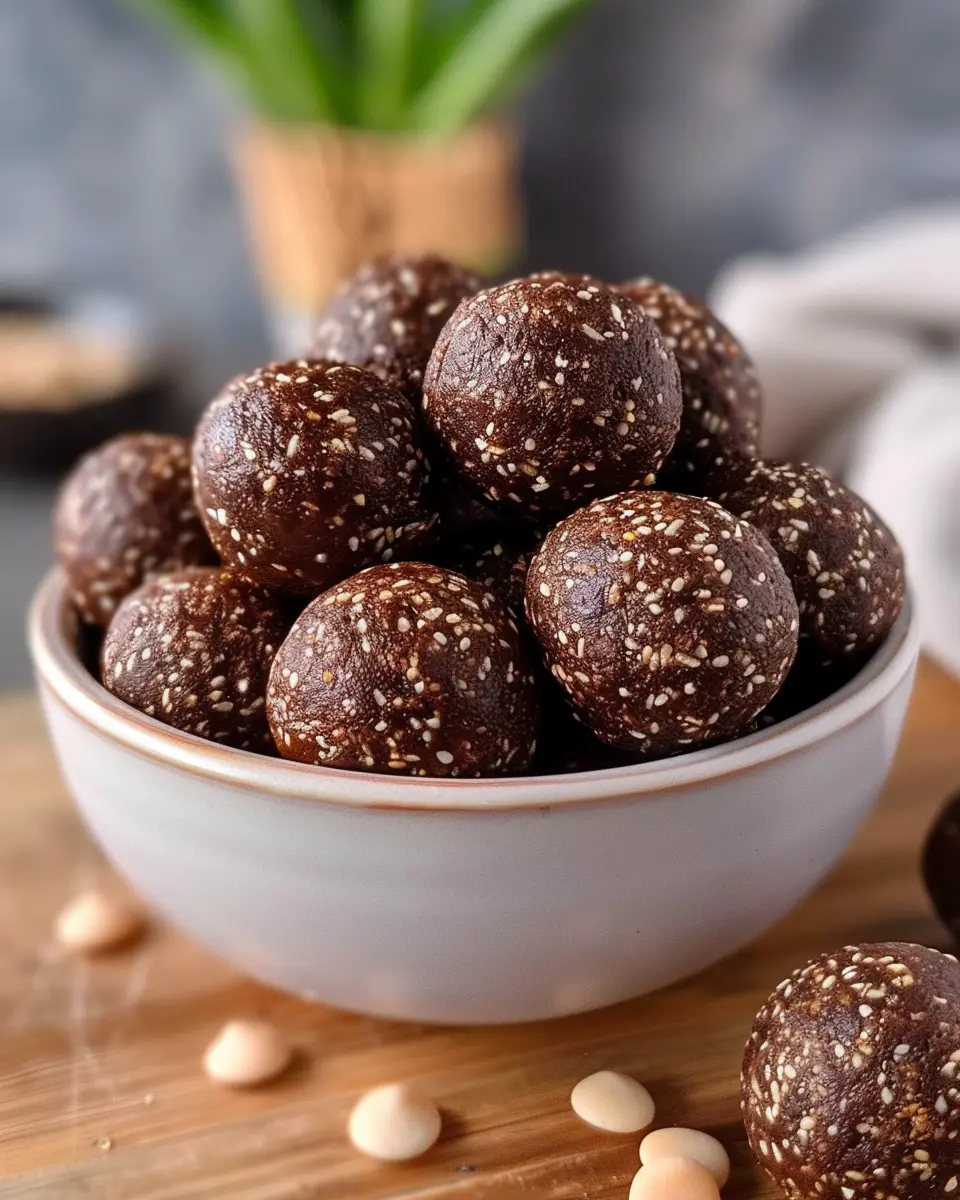
Preparing Delicious Protein Balls for Diabetics
Protein balls have quickly become a favorite snack for those seeking a healthy boost without sacrificing taste. If you’re looking for an easy and enjoyable way to prepare these delicious protein balls, you’re in luck! This section breaks down the steps involved, ensuring you create a snack that not only satisfies your cravings but also fits well into a diabetic-friendly diet.
Create the Nut and Seed Flour
The key to a good protein ball starts with a solid base, which means making a custom nut and seed flour. Here’s how to get it just right:
-
Choose Your Nuts and Seeds: You can use almonds, walnuts, or sunflower seeds—whatever suits your taste or dietary preferences. Each nut or seed brings different flavors and nutritional benefits.
-
Prepare the Flour: Toss your chosen nuts and seeds into a blender or food processor. Blend them until they reach a fine flour-like consistency. If you prefer a more distinct crunch, pulse them coarsely instead. This step is crucial because it affects the texture of your protein balls. For a detailed guide on nut flours, check out this helpful resource from Healthline.
Prepare the Wet Ingredients
Next, let’s move to your wet ingredients. These will help bind everything together while adding moisture and flavor. Consider these options:
-
Choose Your Binding Agent: Natural nut butter, like almond or peanut butter, works wonderfully. You can also use unsweetened applesauce or coconut oil for a different flavor profile. Just be cautious with the quantities; you don’t want it too sticky!
-
Add Sweeteners (if desired): If you want a hint of sweetness, you can use a sugar alternative such as stevia or erythritol. Keep in mind that it’s crucial to monitor your carb intake, especially if you’re managing diabetes.
Form the Dough
With your dry and wet ingredients prepared, it’s time to combine them into a dough.
-
Mix Thoroughly: Take a large mixing bowl and combine your nut flour with the wet ingredients. Use your hands or a spatula to knead the mixture until it holds together well. If it feels too dry, add a bit more nut butter or coconut oil.
-
Test the Consistency: You want a dough that’s easy to work with but not overly sticky. Think play-dough; you should be able to roll it without it sticking all over your fingers!
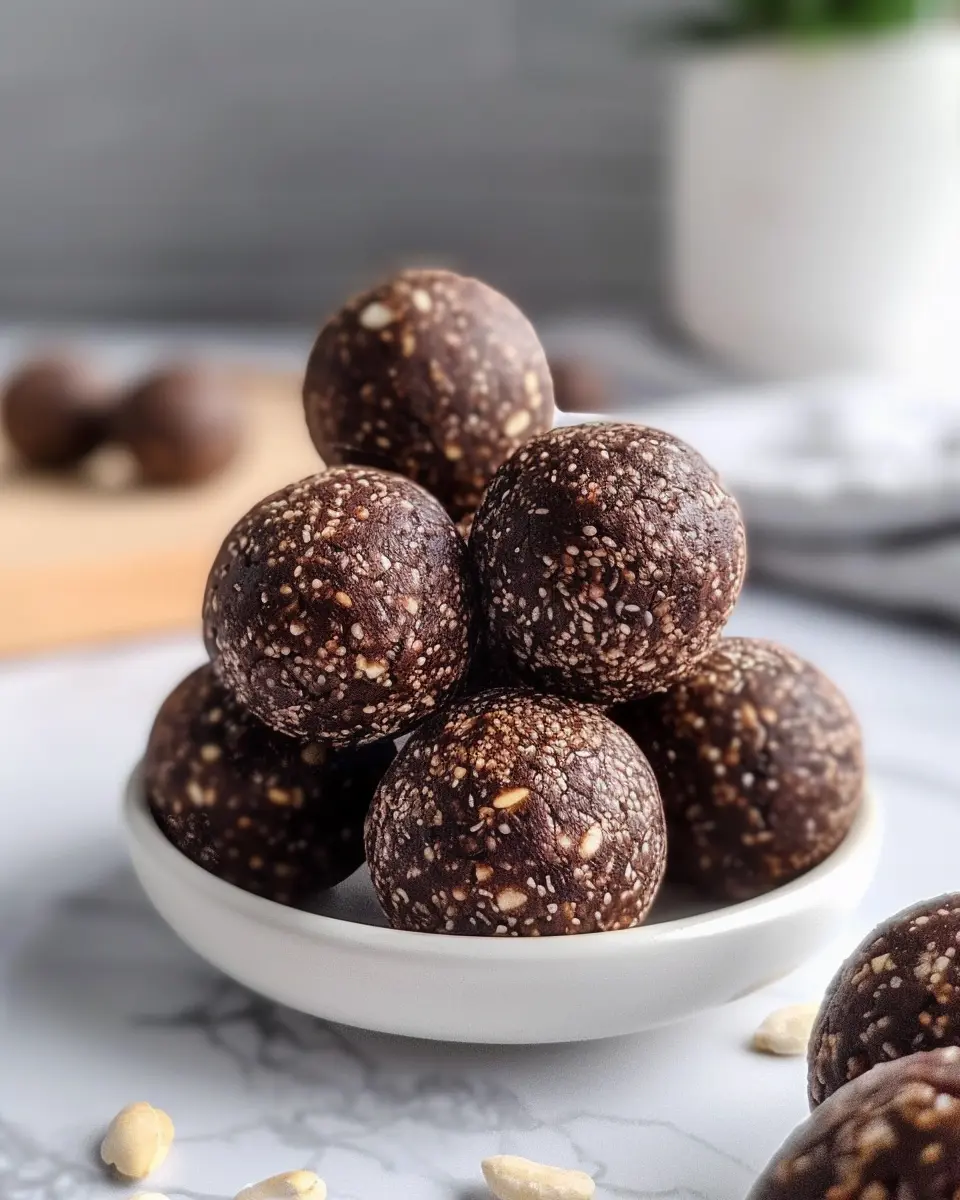
Roll into Bliss Balls
Now comes the fun part: rolling your mixture into bite-sized bliss balls!
-
Shape the Dough: Grab a small amount of the mixture (about a tablespoon) and roll it between your palms to form a ball. If you like, you can dust them with some extra cocoa powder or shredded coconut for added flavor and visual appeal.
-
Chilling Them Out: Once you’ve formed all the balls, place them on a baking sheet lined with parchment paper, then chill them in the fridge for at least 30 minutes. This helps them firm up and enhances the flavors.
Alternative Method Using a Food Processor
Don’t have time to mix by hand? No problem!
-
Blend Everything Together: Simply throw all your ingredients—both dry and wet—into a food processor. Pulse until everything is combined and reaches the desired consistency.
-
Scoop and Roll: Use a cookie scoop to portion out the mixture, then roll them into balls. It’s quick, efficient, and just as rewarding!
Creating these delicious protein balls is not only simple but also satisfying. They make a great post-workout snack or midday treat—perfect for busy professionals looking to maintain a healthy diet. And the best part? You can customize them with your favorite flavors! Want more tips? Check out this guide for snack ideas that keep blood sugar levels steady.
So, what are you waiting for? Let’s get rolling!
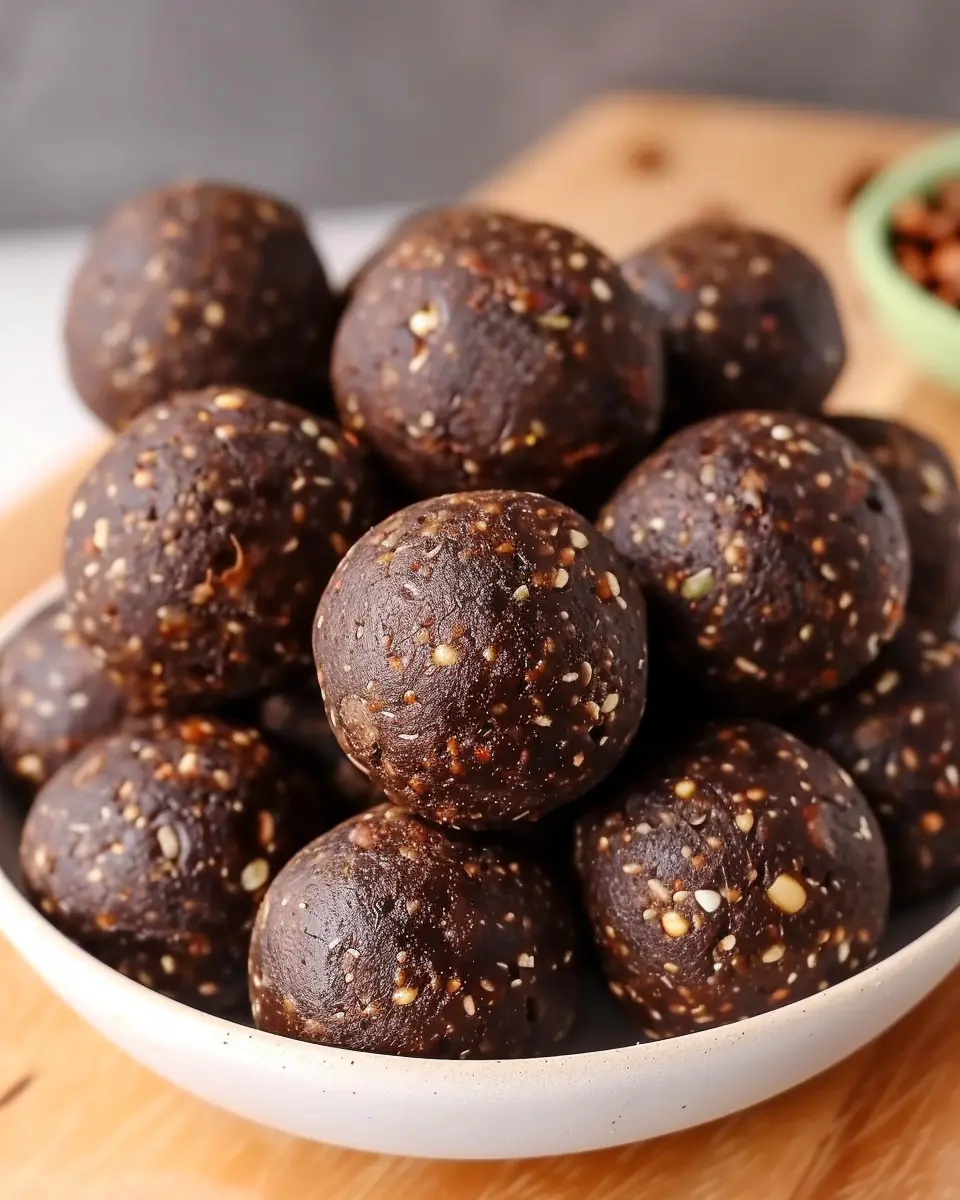
Variations on Delicious Protein Balls
When it comes to Delicious Protein Balls for Diabetics, the options are truly endless. With just a few simple ingredients, you can create delightful variations that not only satisfy your cravings but also align with your dietary needs. Let’s explore two tasty options!
Chocolate Protein Balls with Almond Butter
Imagine biting into a rich, chocolatey protein ball that feels like a treat but is actually a healthy snack. These chocolate protein balls are super easy to whip up. Here’s what you need:
- 1 cup of rolled oats
- 1/2 cup of chocolate protein powder (make sure it’s sugar-free)
- 1/2 cup of almond butter
- 1/4 cup of honey or a sugar alternative
- A pinch of sea salt
- Optional: mini dark chocolate chips for extra indulgence
Combine all the ingredients in a bowl, roll them into small balls, and refrigerate for a set time. These delicious protein balls not only taste amazing but provide a nice boost of energy throughout your day.
Coconut Protein Balls with Vanilla Extract
If you’re in the mood for something tropical, these coconut protein balls will transport you to a beach getaway! Here’s how to make them:
- 1 cup of shredded unsweetened coconut
- 1/2 cup of vanilla protein powder
- 1/2 cup of peanut or almond butter
- 1/4 cup of maple syrup or a sugar alternative
- 1 tsp of vanilla extract
Mix everything together until it’s well combined. Roll into balls and refrigerate. These coconut-infused delights make a fantastic post-workout snack or an afternoon pick-me-up.
Ready to try these variations? Both options offer a delightful mix of flavor and nutrition, making them perfect for your healthy snacking routine. For more tips on crafting Delicious Protein Balls for Diabetics, consider checking out resources from the American Diabetes Association for tailored dietary advice.
Cooking Tips and Notes for Delicious Protein Balls for Diabetics
Common Mistakes to Avoid
When making Delicious Protein Balls for Diabetics, it’s easy to overlook small details that can affect flavor and texture. Here are some common pitfalls:
- Skipping the Sweetener: Many assume that they can omit sweeteners altogether, but a small amount helps marry the flavors. Consider options like stevia or erythritol for blood sugar-friendly choices.
- Overmixing: Mixing too much can lead to a dry consistency. Just blend until combined, and leave some small chunks for added texture.
How to Achieve the Perfect Texture
Getting that ideal chewy yet firm texture can be tricky—here’s how to make it happen:
- Choice of Oats: Use rolled oats instead of instant ones. They provide a heartier texture.
- Nut Butter Flow: If your nut butter is too thick, slightly warm it in the microwave for easier mixing. This helps in creating that perfect bite.
- Chill Time: Don’t skip the refrigerator step. Letting your protein balls firm up for at least 30 minutes makes them easier to handle and enhances their taste.
By keeping these tips in mind, you’ll craft Delicious Protein Balls for Diabetics that are not only nutritious but also unbelievably satisfying! If you’re looking for more ways to enjoy healthier snacks, check out articles on low-carb diets for additional ideas.
Serving Suggestions for Delicious Protein Balls
Pairing Protein Balls with Beverages
When you’re snacking on Delicious Protein Balls for Diabetics, finding the right beverage can elevate your experience. Think beyond just water; consider pairing your protein balls with:
- Herbal teas: Options like chamomile or peppermint can offer a soothing contrast.
- Smoothies: Blend leafy greens, low-sugar fruit, or a scoop of Greek yogurt for a refreshing and nutritious match. Check out this healthy smoothie recipe for inspiration.
- Almond milk or coconut milk: These add a creamy texture without the added sugar.
Enjoying Protein Balls in a Balanced Breakfast
Start your day with a little Delicious Protein Balls for Diabetics twist! These protein-packed delights can be the star of a balanced breakfast. Try slicing a couple of protein balls and adding them to a bowl of Greek yogurt with a sprinkle of nuts or seeds. This combination can provide lasting energy throughout your busy morning.
Feeling adventurous? Crumble a few protein balls over oatmeal to add a delightful crunch and extra flavor. Whatever your choice, integrating these nutritious bites into your morning routine ensures you kick-start your day on the right foot!
By getting creative, you’ll not only enjoy the taste but also feel satisfied and energized.
Time Breakdown for Delicious Protein Balls for Diabetics
Preparation time
Making these delicious protein balls for diabetics is super quick! You’ll spend about 15 minutes gathering and mixing everything together. Just gather your ingredients, and you’ll have them ready to roll in no time. Trust me, it’s worth the effort!
Total time
From start to finish, including chilling time, you’re looking at around 30 minutes for a healthy snack that packs a protein punch. After preparing, pop them in the fridge for about 15 minutes to set. This is a perfect opportunity to tidy up your kitchen or even prep a quick healthy lunch!
For more tips on easy meal prep, check out this site for additional healthy eating tips.
Nutritional Facts for Delicious Protein Balls
When it comes to Delicious Protein Balls for Diabetics, knowing the nutritional breakdown can help you make healthier choices. Here’s a quick glimpse at what’s inside these tasty bites.
Estimated calories
Each protein ball contains approximately 100 calories, making them an excellent snack option that won’t derail your diet. This moderate calorie count fits seamlessly into a range of meal plans, especially for those managing blood sugar levels.
Protein content and other nutrients
Packed with about 7 grams of protein per ball, these bites not only satisfy your hunger but also provide essential nutrients. You’ll benefit from:
- Healthy fats from nut butter
- Fiber from oats, supporting digestive health
- Vitamins and minerals from ingredients like chia seeds or flaxseeds
With all these benefits, it’s easy to see why Delicious Protein Balls for Diabetics are a fantastic choice! For more insights on nutrition, check out resources like the American Diabetes Association.
FAQs about Delicious Protein Balls for Diabetics
How can I adjust the sweetness?
When it comes to creating your Delicious Protein Balls for Diabetics, sweetness is often a key consideration. If you find the recipe a tad too sweet or not sweet enough, there are a few easy tweaks you can make:
- Use less honey or maple syrup: Start by reducing the amount you use in the recipe. You can always add a little more if necessary.
- Opt for stevia or monk fruit sweetener: These zero-calorie sweeteners can provide the sweetness you’re looking for without affecting your blood sugar levels.
- Add unsweetened cocoa powder: This can give you a rich flavor without the added sugar. Plus, it’s a delightful way to chocolate-fy your protein balls!
Can I freeze these protein balls?
Absolutely! Freezing is a fantastic way to prolong the shelf life of your Delicious Protein Balls for Diabetics. Here’s how to do it:
- Let them cool completely: If you’ve just made a fresh batch, allow them to cool at room temperature.
- Wrap individually: Wrap each protein ball in plastic wrap or place them in a freezer-safe container.
- Use within three months: They’ll maintain their quality for up to three months. Just thaw them in the fridge overnight when you’re ready to enjoy!
What are some alternatives to dates?
Not a fan of dates or concerned about their sugar content? No problem! Here are some alternatives you might like:
- Dried figs or prunes: These are naturally sweet and can offer similar texture benefits.
- Unsweetened applesauce: This can add moisture while keeping the sugar content lower.
- Banana puree: It’s another great option for binding and adds natural sweetness.
For comprehensive nutritional guidelines on sugar alternatives, check out the American Diabetes Association for further reading!
Conclusion on Delicious Protein Balls for Diabetics
In conclusion, Delicious Protein Balls for Diabetics offer a tasty and nutritious way to manage cravings while keeping blood sugar levels stable. These bite-sized snacks are not just easy to prepare but also customizable to suit your palate. Packed with protein and healthy fats, they can provide sustained energy throughout your busy day.
Consider incorporating ingredients like nuts, seeds, and natural sweeteners such as stevia or monk fruit to enhance the flavor without spiking insulin levels. The versatility of protein balls means they can fit seamlessly into a balanced diet, whether you’re at home or on the go. Explore more about diabetic-friendly snacks to expand your repertoire, and let these delicious bites fuel your active lifestyle!
PrintDelicious Protein Balls for Diabetics: Easy, Guilt-Free Snacks

These Delicious Protein Balls for Diabetics are the perfect guilt-free snacks that you can enjoy anytime.
- Prep Time: 15 minutes
- Total Time: 45 minutes
- Yield: 12 servings
- Category: Snacks
- Method: No-Bake
- Cuisine: Healthy
- Diet: Diabetic
Ingredients
- 1 cup rolled oats
- 1/2 cup almond butter
- 1/4 cup honey or sugar-free sweetener
- 1/2 cup chocolate protein powder
- 1/4 cup flaxseed meal
- 1/4 cup mini dark chocolate chips
- 1 teaspoon vanilla extract
Instructions
- In a large bowl, combine rolled oats, almond butter, honey (or sweetener), protein powder, flaxseed meal, and vanilla extract.
- Mix until all ingredients are well combined.
- Add in mini chocolate chips and mix again.
- Roll the mixture into small balls and place them on a baking sheet.
- Refrigerate for at least 30 minutes to firm up.
- Store in an airtight container in the fridge.
Notes
- These protein balls are great for meal prep and can be stored for a week.
- Feel free to substitute ingredients based on your preference.
Nutrition
- Serving Size: 1 ball
- Calories: 120
- Sugar: 2g
- Sodium: 60mg
- Fat: 7g
- Saturated Fat: 1g
- Unsaturated Fat: 6g
- Trans Fat: 0g
- Carbohydrates: 10g
- Fiber: 2g
- Protein: 5g
- Cholesterol: 0mg